
 | ||||
| Double Layer 550lb. Paracord Survival Bracelet | \ |
2. Scissors or Knife
3. Lighter
Step 1: Cut 10-12 feet of paracord depending on the size of your wrist. If you worried, it's always better to have to much. Once you cut it, use the lighter to burn the ends of the paracord so it doesn't fray. You can smooth the ends out while its still hot so you don't get giant blobs on the ends. WARNING: Melted paracord is hot, smooth the ends with quick motions or use gloves.

 |
| Picture A |
Step 2: Double up the paracord and measure your wrist with it. You should be able to loop it around your wrist and then fit 3 fingers under the band. Cut and burn the ends once you've measured it. Now tie a knot in the end of the paracord like in photo "A". An easy way to be safe is leave extra to the right of the knot so you can loosen later if it to tight.

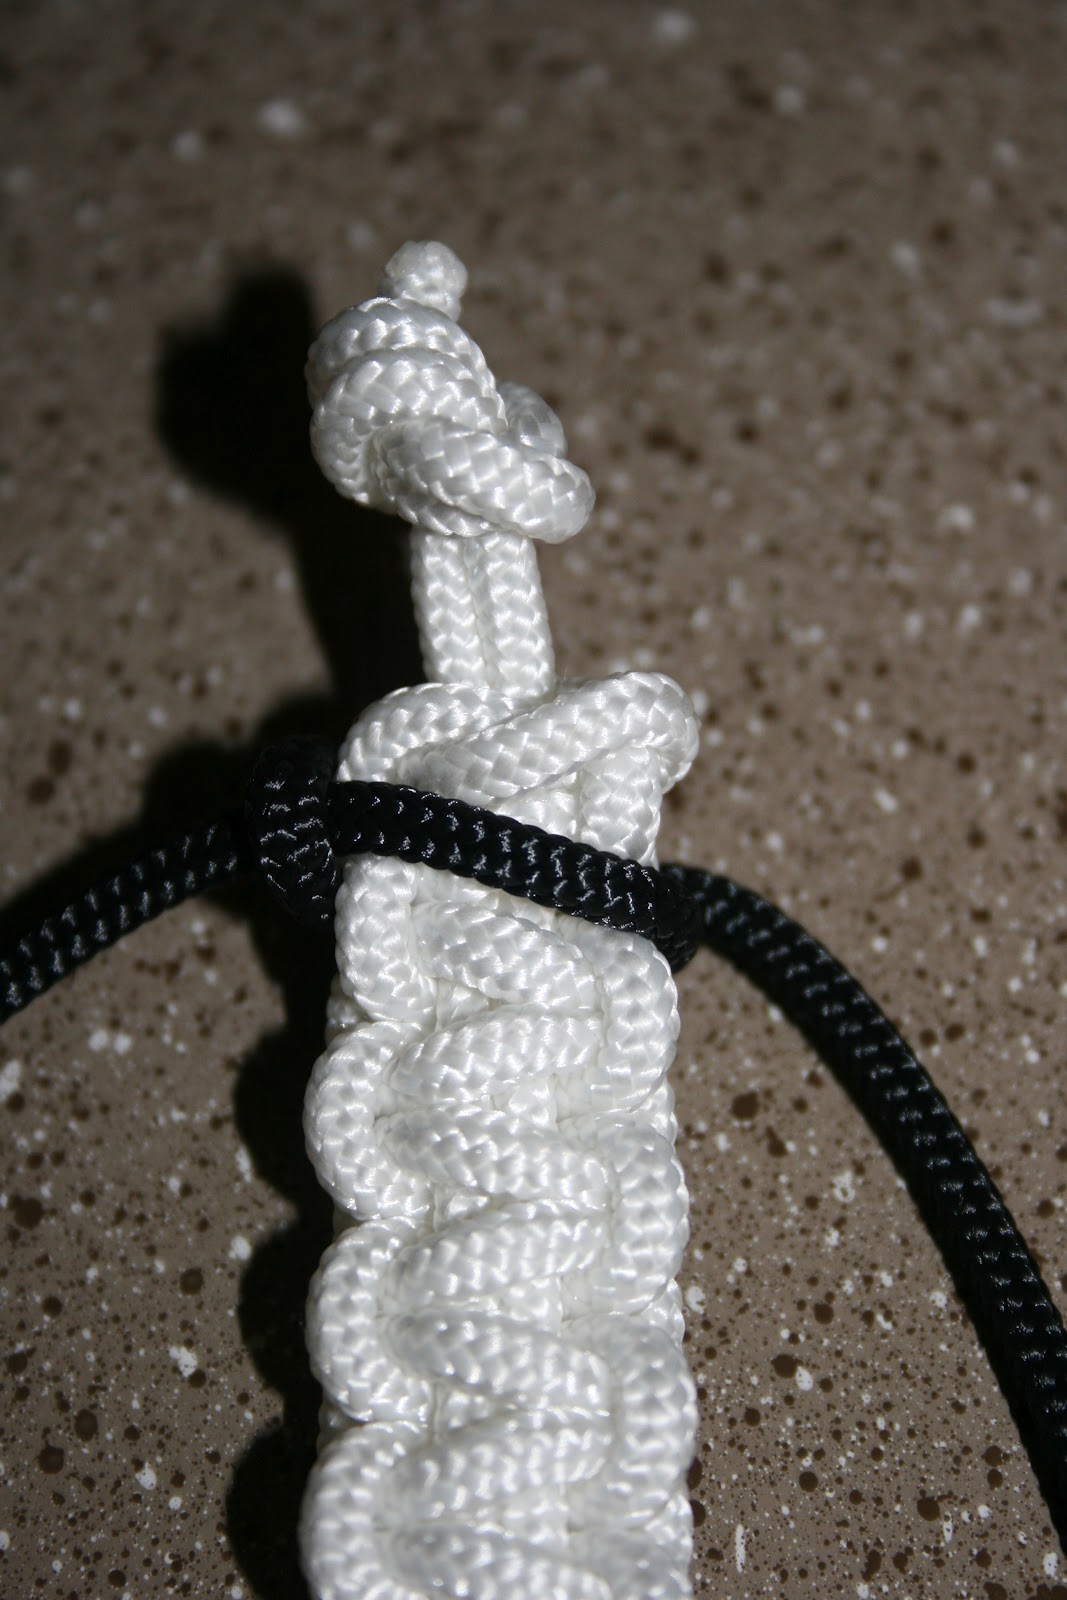
Step 3: Loop the first color around the backside of the wrist piece you made.

Step 4: Pass the left side under the wrist piece.

Step 5: Pass the right piece under the left piece, over the wrist piece and then pass it through the loop on the left side.

Step 6: Tighten the knot around the wrist piece to secure it. Leave about 1/4 - 1/2 inch from the top knot so it can swivel and secure correctly at the end.


Step 7: Now your going to make a knot on the right side so you can alternate the pattern. Pass the right line under the wrist piece. Then pass the left piece under the right piece, over the wrist piece and through the left loop. Tighten the knot.


Step 8: Continue alternating the pattern and stop once you get close to the end. Repeat steps 3-7 to get to the end. If you forget which side loop you just did just look for the lowest side loop (as seen in the left picture) and that's the side you just did so you need to start on the opposite. Once you finish cut off any extra and burn the ends on the bracelet to prevent fraying. Again, push them in while still hot to smooth them.

Step 9: Repeat step 3-8 with the other color, just add it over the first layer. Once you get to the end of the second color and burn the ends just like before. Once you've finished the entire bracelet, size it one more time and adjust your knot so it fits to your liking and the cut off the extra and smooth it.

Congratulations, You've Completed Your Survival Bracelet.
This bracelet will help ensure you always have rope when you need it. You don't even need to remember to pack it. This will help you survive the worst. Feel free to leave comments and thoughts on how to improve your survival bracelet.
Learn. Explore. Survive.
No comments:
Post a Comment